-40%
TRAC Trolling Motor Rigging Kit 69440
$ 70.21
- Description
- Size Guide
Description
OtherTRAC Trolling Motor Rigging Kit 69440
Product SKU:
TRC-69440
Item Condition:
New
MSRP
4.99
Sale Price
2.99
Product Description:
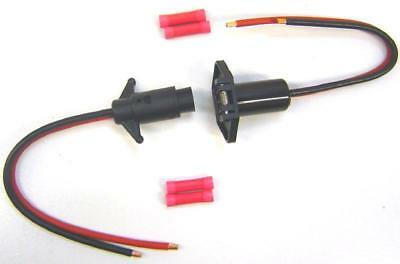
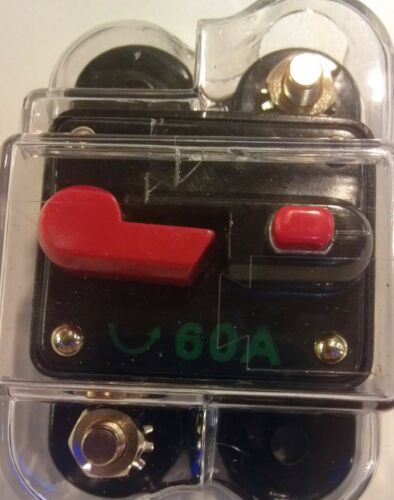
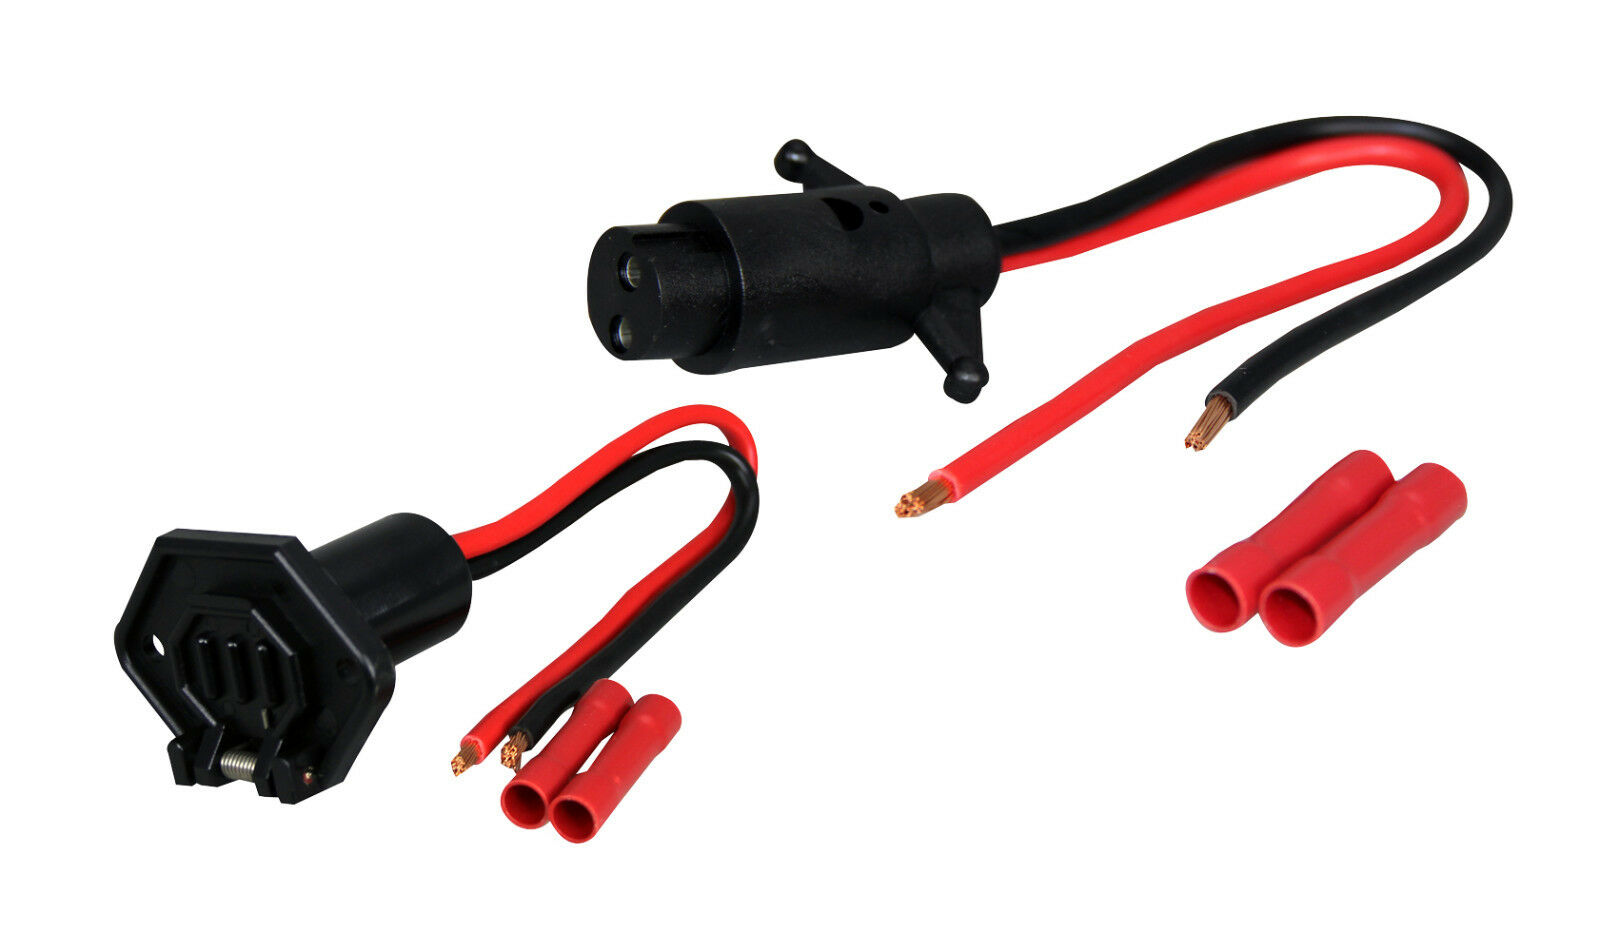
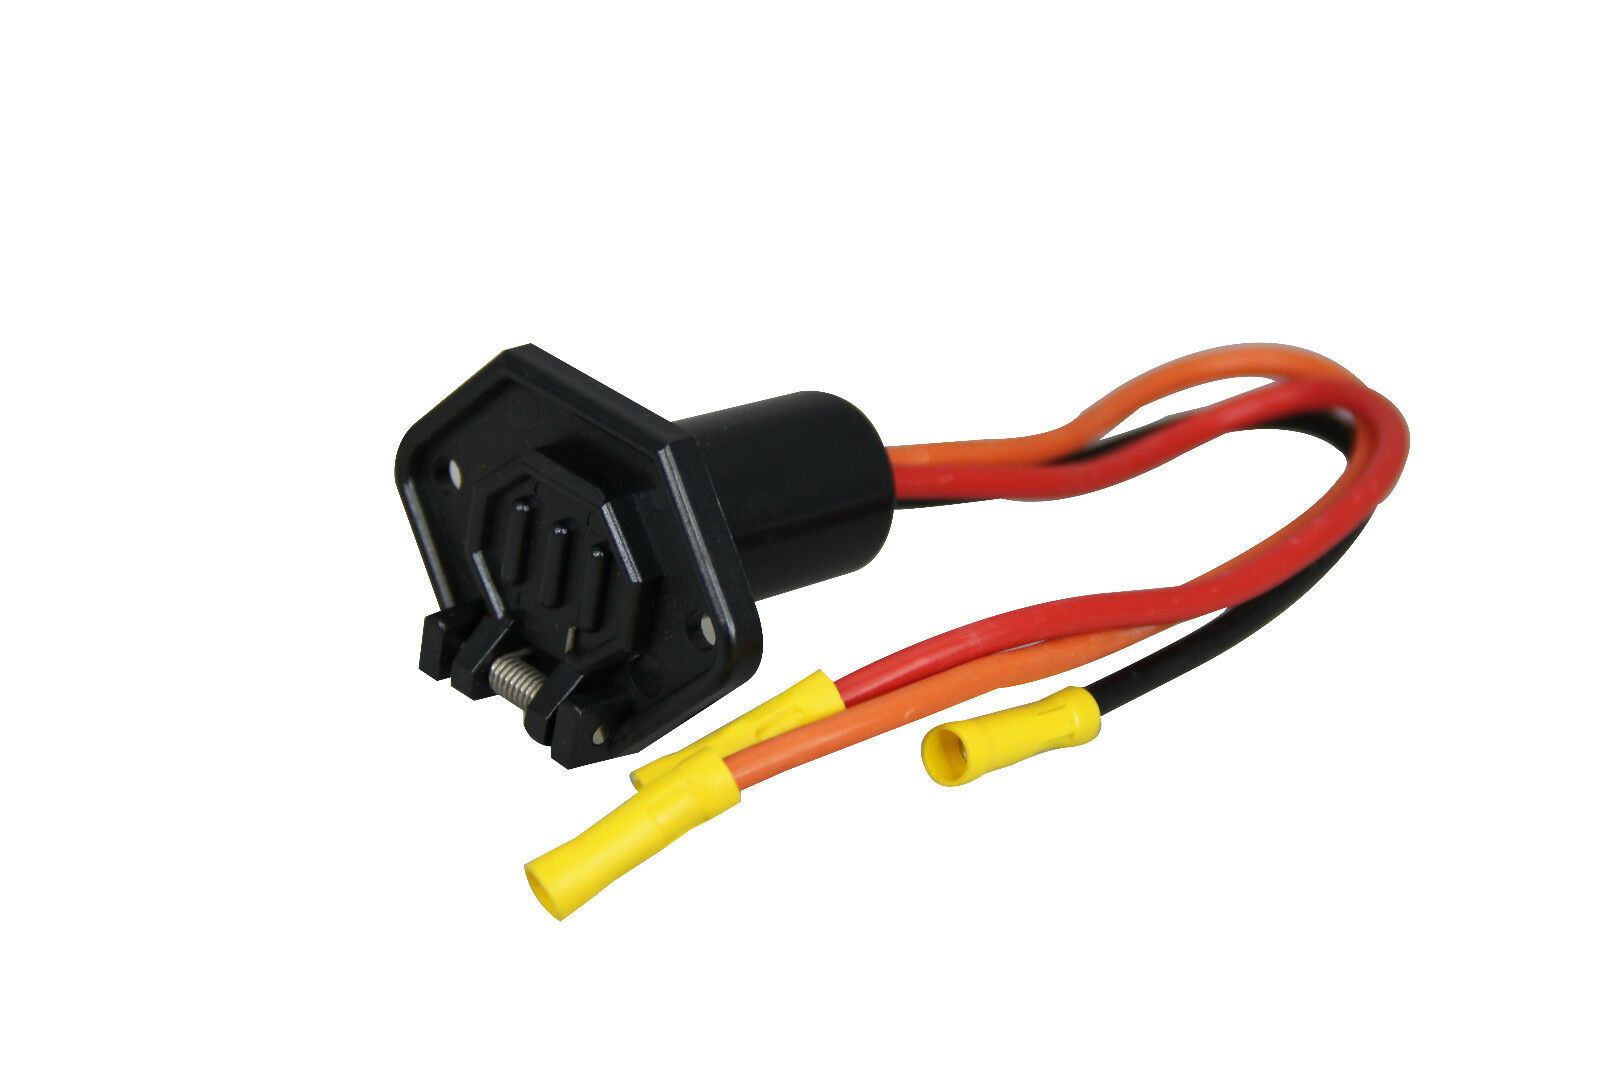
Trac Trolling Motor Rigging KitThe Trac Trolling Motor Rigging Kit has everything you need to wire your boat for high-current (60 amp) 12v/24v and now up to 36v power! Use this high current power connection for all boats to power 12v/24v/36v trolling motors, winches or any other 12v/24v/36v devices, up to 60 amps. Kit Includes TRAC 12/24v/36v high-current Quick-Connect system: 2 Quick-Connect plugs (one for boat and one for trolling motor or other device) 1-'' Round Hole Adaptor (to install boat plug in flat panel option 1) U-bracket (to install boat plug on flat surface option 2) 30 Heavy 8-gauge AWG Tin-Plated Marine-Grade Positive (red) Battery Wire 30 Heavy 8-gauge AWG Tin-Plated Marine-Grade Negative (black) Battery Wire 2-14'' 8-gauge Cross-over Wires for 24v and 36v systems All Heat-shrink Terminations included or installed 28 of Corrugated Wire Loom High-current 60 amp Manual Resetting Circuit Breaker 4 Isolator Bolts to install Trolling Motor or other device Installation InstructionsHOW TO INSTALL TRAC TROLLING MOTOR RIGGING KITKit Includes Trac 12/24/36v high-current Quick-Connect System: 2 Quick-Connect plugs (one for boat and one for trolling motor or other device) 1-1/2" Round Hole Adaptor (to install boat plug in flat panel option 1) U-bracket (to install boat plug on flat surface option 2) 30' Heavy 8-gauge AWG Tin-Plated Marine-Grade Positive (red) Battery Wire 30' Heavy 8-gauge AWG Tin-Plated Marine-Grade Negative (black) Battery Wire Two 14" 8-gauge Cross-over Wires for 24 and 36v systems All Heat-shrink Terminations included or installed 28' of Corrugated Wire Loom High-current 60 amp Manual Resetting Thermal Circuit Breaker 4 Isolator Bolts to install Trolling Motor or other deviceInstallation Instructions for Battery End of Harness (plug with long wire harness) Route the wiring harness along or through boat from the panel position to the battery position. You will pass the two wires (positive wire has ring termination already installed and negative wire is cut) through your boat to the battery. Make a small coil in the wire at the panel end to leave a little extra wire. Better to leave extra wire than find out the wires are a little short. Position loom (black corrugated plastic tubing) along a location where it can be secured with cable-ties (zip ties) or otherwise be protected. Wires should not touch sharp metal or anything that might wear through the insulation. The circuit breaker should be installed as close to the battery positive (+) terminal as possible. The circuit breaker can hang freely, only supported by the positive wire; however, it is best if the circuit breaker is secured to a bulkhead with screws. NOTE: Never install the circuit breaker on the negative wire only the positive wire can be used. Position the battery positive wire (red) at the battery positive (+) terminal and route the wire from the terminal to the gray end cap of the circuit breaker. If the circuit breaker is secured with screws to a bulk head, route the wire from battery and add a loop of wire like you did at the panel end. Cut the battery positive wire length so there is enough wire to run from the battery positive post, making a loop and reaching one end of the circuit breaker. (It does not matter which end of the circuit breaker is used). After the battery positive wire is cut, strip " of the plastic insulation away from both ends of each piece of battery positive wire. Unscrew the gray end caps on the circuit breaker. Place the end caps onto each piece of wire. Place the red grommet over each piece of wire. User an Allen wrench to unscrew the set screw on the circuit breaker terminals. Insert the stripped wire and tighten the set screws. Slide the gray end caps up to the circuit breaker and screw on. Tighten hand-tight only. The grommet and an O-ring will seal the connection. Do this on both sides of the circuit breaker. Note: Do not connect the wires to the battery yet.Installation Instructions for Panel End of Harness (plug with short wires) The wiring harness should now be routed along or through your boat from the battery position to the panel or place you wish to install the 12v plug. Choose the type of plug installation which is best for your application. The round-hole adaptor can be used for installations through a flat panel. The U-bracket can be used to install the receptacle on the side of a flat surface, like a bulkhead. Note: The plug can also be left unattached if desired, but make sure it cannot fall into standing water and that the wiring harness is secured. To use the Round Hole Adaptor: Drill a 1.5" hole in the flat panel. On the back side of the panel place the plug through the round hole adapter nut (removed from the adaptor). Pass the plug through the 1.5" hole. Note: The nut must be on the back side of the panel. Remove the gray plug cap by unscrewing the stainless tether was removed. Insert the plug into the back side of the adaptor so the threaded hole is on the same side as the small screw hole. The plug will snap into the adaptor. Install the small screw through the adaptor and into the plug to secure it. Pass the adaptor into the 1.5" hole and thread the nut on the backside onto the adaptor. Hand tight is tight enough. Over tightening will cause the nut to skip a thread. If desired, the stainless tether with cap can be screwed onto the front of the round hole adaptor. To use the U-bracket The bracket will fit over the plug, fitting in a groove on the plug. Secure to a flat surface with screws provided. Install the plug on the trolling motor (or other electrical device) wires by cutting the wires and stripping " of plastic insulation. Insert the wires in the butt splices making sure the wires are completely inserted in the metal part of the splice. Crimp splices with crimping tool. Make sure wires are connected black-to-black and red-to-red. The insulation on the butt-splices is heat-shrink type. Apply heat (from a heat gun or similar source) to butt-splice insulation to shrink it to the wire creating a waterproof seal. Information sourced from the TRAC Trolling Motor Rigging Kit Installation Instructions
About Us
Wholesale Marine is an on line boating store founded to provide customers an easy way find top-quality products at the lowest prices. With associates who possess decades of combined boating experience, Wholesale Marine can truly provide expert customer service.
Shipping Method
Wholesale Marine currently ships all merchandise UPS or truck freight. All orders with in-stock items placed by 2:00 PM EST Monday - Friday are shipped that same day. Orders placed after 2:00 PM on Friday and orders place on Saturday and Sunday will ship on the following Monday. Orders that qualifying for free shipping may be shipped any method and carrier chosen by Wholesale Marine. Free shipping offers are only valid within the continental U.S.
There are certain items that we cannot ship outside of the Continental United States. Items that cannot be shipped outside of the Continental United States include all name brand watersports products and hazardous materials, such as but not limited to paint, oil, resins and adhesives.
*Canadian Customers: Please be aware that any brokerage, duty, or customs fees are out of our control.
Returns
Wholesale Marine will gladly refund almost any merchandise within 30 days from original purchase date. To return just send merchandise prepaid, in its original unused condition. Please include a copy of original Wholesale Marine invoice. We will then refund the merchandise amount by the original payment method. Shipping costs are not refundable. No returns for special order items, electronics, cut lengths of material or hazardous materials, such as but not limited to paint, oil, resins and adhesives.
Please ship all Returns to:
Wholesale Marine
147 Circle Freeway Drive
Cincinnati, OH 45246
Connect with Us
Find us on:
Powered by SixBit's eCommerce Solution

